CO2 sensor with LCD and ESP32-C3 Supermini
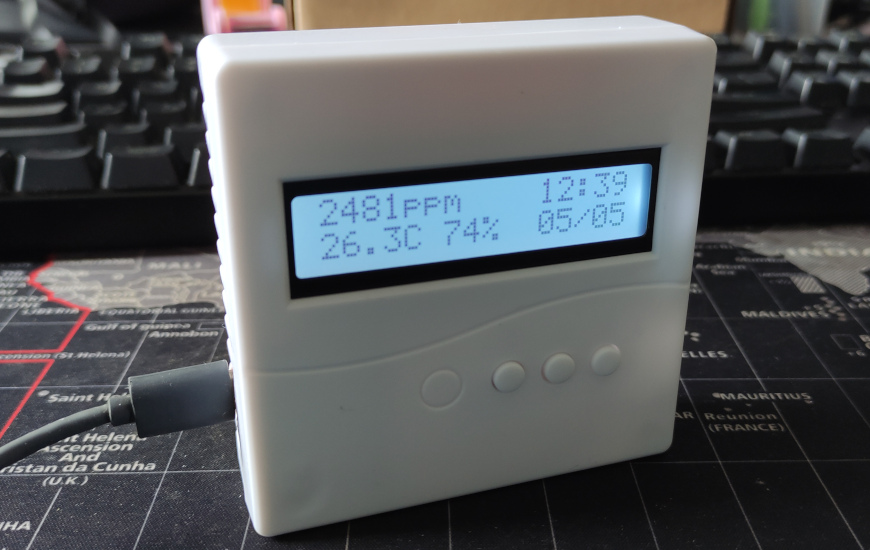
I wanted to add an LCD screen to my CO2 sensor, so I bought a white LCD 1602 with an I2C controller. The I2C controller needs to be soldered to the LCD, but my basic soldering skills were sufficient for the task.
I also wanted to place it in a box, so I purchased this plastic enclosure but I cannot recommend it. It required a lot of glue from a glue gun to install the LCD and the ESP. I also had to use the soldering iron to create space for the ESP and a hole for the USB connector. I installed the plastic buttons but they are only decorative.
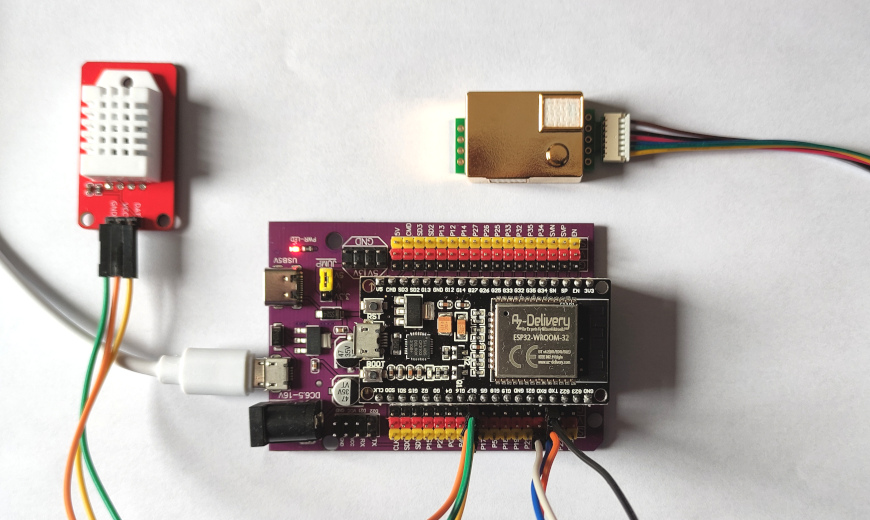
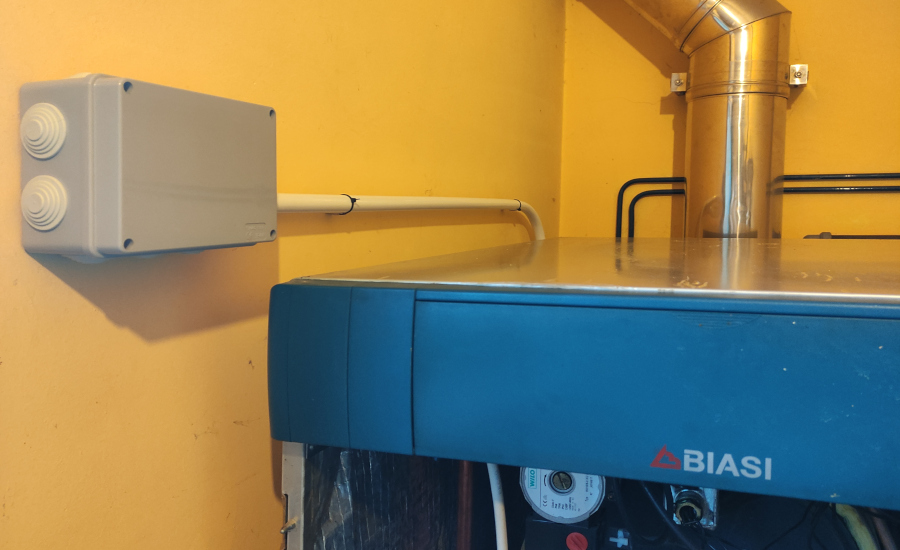
I made room for the sensors inside the box, but finally left them outside because they are more precise that way.
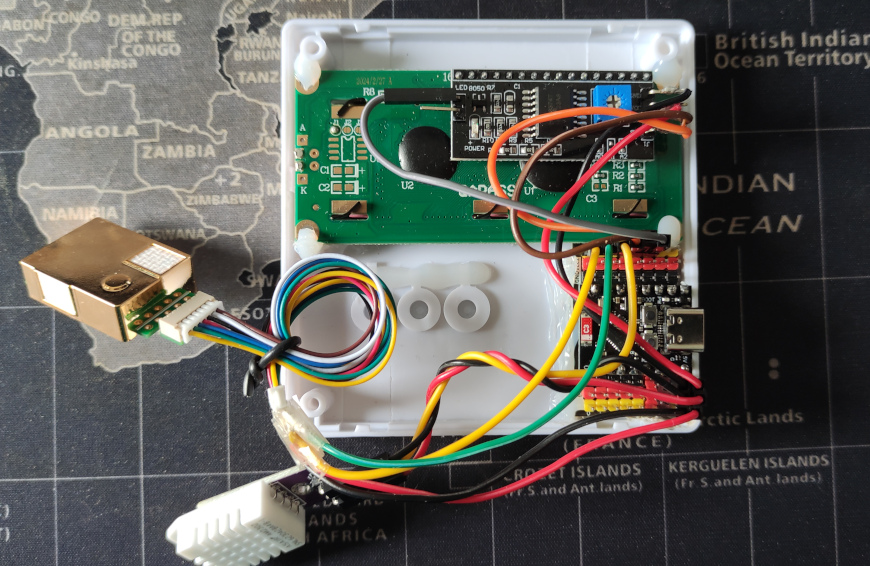
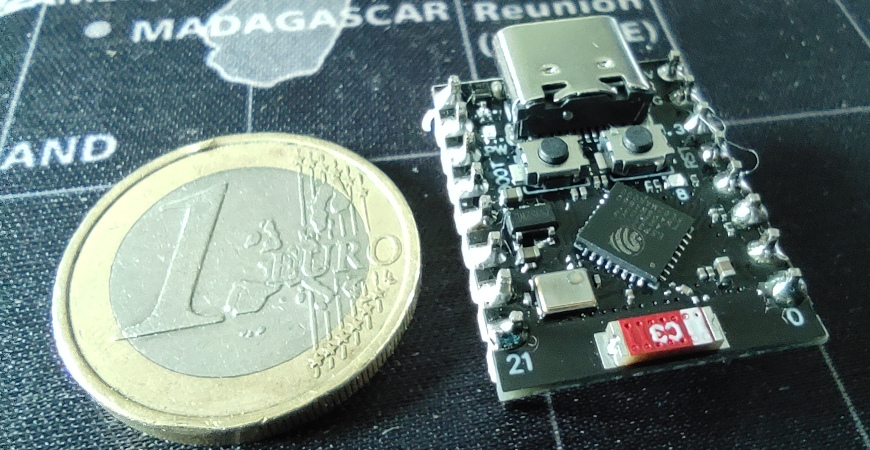
The ESP32-WROOM-32 was too large for the enclosure, so I used a ESP32-C3 Supermini with an expansion board. This is a really amazing board with a 32-bit RISC-V 160MHz microcontroller, WiFi, Bluetooh, I2C and UART. It’s not as powerful as the ESP32-WROOM-32 with a dual core 32-bit Xtensa 240Mhz, but it’s more than capable to control the sensors and the LCD.
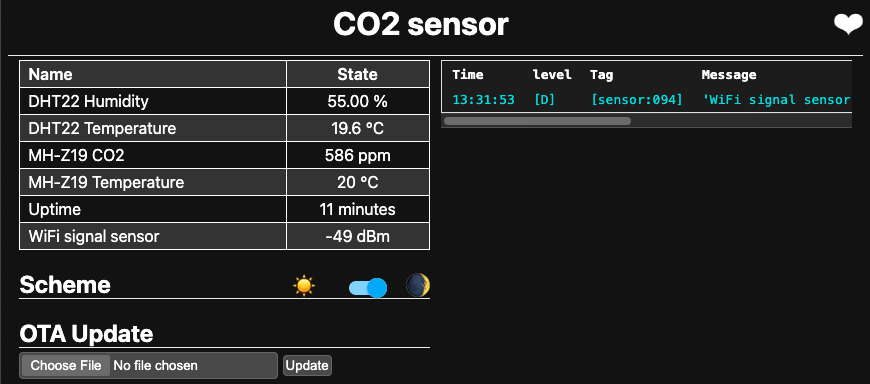
This is the ESPHome configuration, which includes a switch to control the LCD backlight and a clock synchronizing the time with Home Assistant:
esphome:
  name: co2sensor
  friendly_name: CO2 Sensor

esp32:
  board: esp32-c3-devkitm-1
  framework:
    type: arduino

logger:
  level: ERROR

api:
  password: ""

ota:
  platform: esphome
  password: ""

wifi:
  ssid: !secret wifi_ssid
  password: !secret wifi_password
  reboot_timeout: 90s
  ap:
    ssid: ${friendly_name} Hotspot
    password: !secret wifi_password

captive_portal:

web_server:
  port: 80

debug:

time:
  - platform: homeassistant
    id: homeassistant_time
    timezone: "Europe/Madrid"

uart:
  rx_pin: GPIO20
  tx_pin: GPIO21
  baud_rate: 9600

i2c:
  sda: GPIO8
  scl: GPIO9

sensor:
  - platform: uptime
    name: Uptime
    filters:
      - lambda: return x / 60.0;
    unit_of_measurement: minutes

  - platform: wifi_signal
    name: "WiFi signal sensor"
    update_interval: 60s

  - platform: dht
    model: AM2302
    pin: GPIO10
    temperature:
      id: "dht22_temperature"
      name: "DHT22 Temperature"
    humidity:
      id: "dht22_humidity"
      name: "DHT22 Humidity"
    update_interval: 50s

  - platform: mhz19
    co2:
      id: "mhz19_co2"
      name: "MH-Z19 CO2"
    temperature:
      id: "mhz19_temperature"
      name: "MH-Z19 Temperature"
    update_interval: 60s
    automatic_baseline_calibration: false

display:
  - platform: lcd_pcf8574
    dimensions: 16x2
    address: 0x27
    update_interval: 1s
    lambda: |-
        auto time =  id(homeassistant_time).now();
        it.printf(11, 0, "%02d:%02d", time.hour, time.minute);
        it.printf(11, 1, "%02d/%02d", time.day_of_month, time.month);
        auto co2 = id(mhz19_co2).state;
        if (!isnan(co2)) {
          it.printf(0, 0, "%.0fppm", co2);
        }
        it.printf(0, 1, "%.1fC", id(dht22_temperature).state);
        it.printf(6, 1, "%.0f%%", id(dht22_humidity).state);

switch:
  - platform: gpio
    pin: GPIO7
    name: "LED Backlight"
    id: led_backlight
    restore_mode: ALWAYS_OFF
And the full BOM: