Installing Thingino on a Vanhua FJZ camera
Two months ago my brother asked me: Which security IP camera should I buy? It seemed a simple question, but I needed some time to find a good solution.
I used a Yi Camera for several years, but their mobile app is overloaded with ads constantly pushing their cloud video storage services. I cannot recommend Yi or any other vendor whose business model relies on selling inexpensive cameras just to lock you into their cloud services. I also played with ESP-CAM (and a ESP32-S3-CAM), but the video quality is not enough (MJPEG, low framerate, no night vision…).
For devices as senstitive as cameras, I cannot trust closed firmware or Wi-Fi. Both are explotable security holes. I also can’t trust any camera vendor’s cloud service.
So my requirements were:
- Open source firmware.
- Ethernet only, no Wi-Fi.
- Ceiling mount.
- Power over Ethernet (PoE) to simplify the setup in the ceiling.
- Night vision.
- No vendor cloud service.
- RTSP streams for self-hosted recording services (I use Frigate).
- H.265 support to save storage, but I ended up using H.264 because Telegram doesn’t support H.265.
- On camera motion detection.
It is quite hard to find cameras that clearly show their chipset in the listing. Finally I bought an inexpensive Vanhua FJZ OEM camera from Aliexpress.
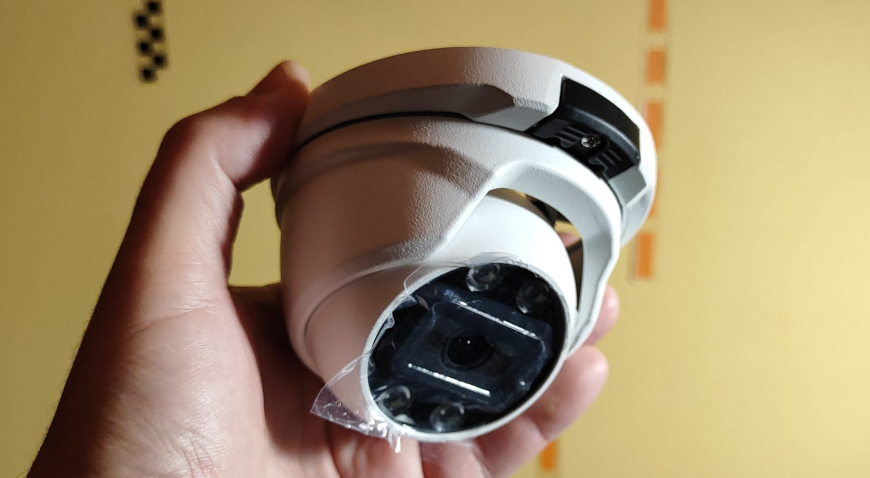
After opening the camera, the board didn’t match the images of the Aliexpress listing, so I thought it was a scam, but the camera is OK, the listing is outdated.
Camera specs
- Chipset: Ingenic T31X (should be enough for H.265 and basic motion detection)
- Sensor: GC4653 5 MP (with the resolution for 5 MP the image is distorted, I willl use QHD 2560×1440, 3.6 MP)
- Flash: 16 MB
- Connectivity: Ethernet only
- Power: PoE, 48 V
- Storage: No SD card
- Metal housing
Why switch firmware?
The camera shipped with an unreliable Chinese firmware. For example, viewing video through a browser required a plugin that didn’t work on Linux or Mac. So I decided to install Thingino (https://thingino.com/).
OpenIPC was another option, but Thingino seemed better maintained and feature-rich. However, Thingino isn’t perfect: There are bugs, and updates are frequent. Fixing bugs requires SSH access and manual edits.
Installing the firmware
Installing Thingino isn’t straightforward. You need to disassemble the camera and follow the steps in the Thingino wiki.
Some notes from my experience:
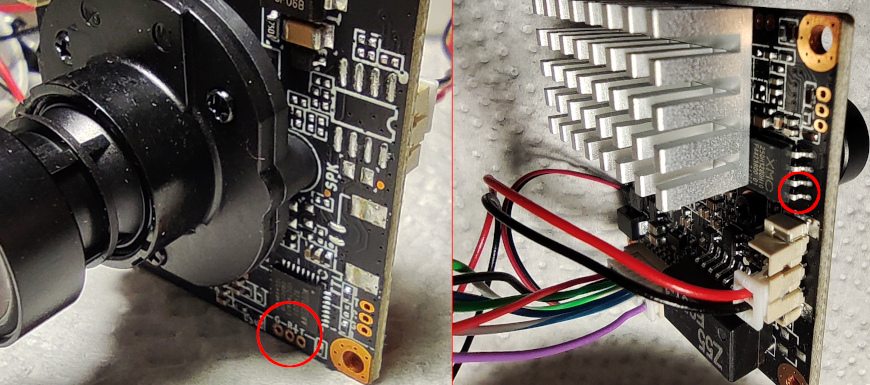
- I had to make a pogo-pin connector for the serial port.
- The camera has two serial ports. I lost a lot of time because I was trying to connect to the wrong one.
- The bootloader is locked. There is a clever trick to access it, triggering an error by shorting two pins of the flash chip during the boot sequence, so it fails to read the kernel .
- Firmware is uploaded via the serial port using ymodem (it is very slow, it reminded me of the BBS days).
The correct serial port and the pins to short during boot:
Accessing the camera
By default, the camera obtains an IP via DHCP.
- Web interface:
http://<camera_ip> - SSH:
ssh root@<camera_ip>(default password:root, you’ll be prompted to change it on first login)
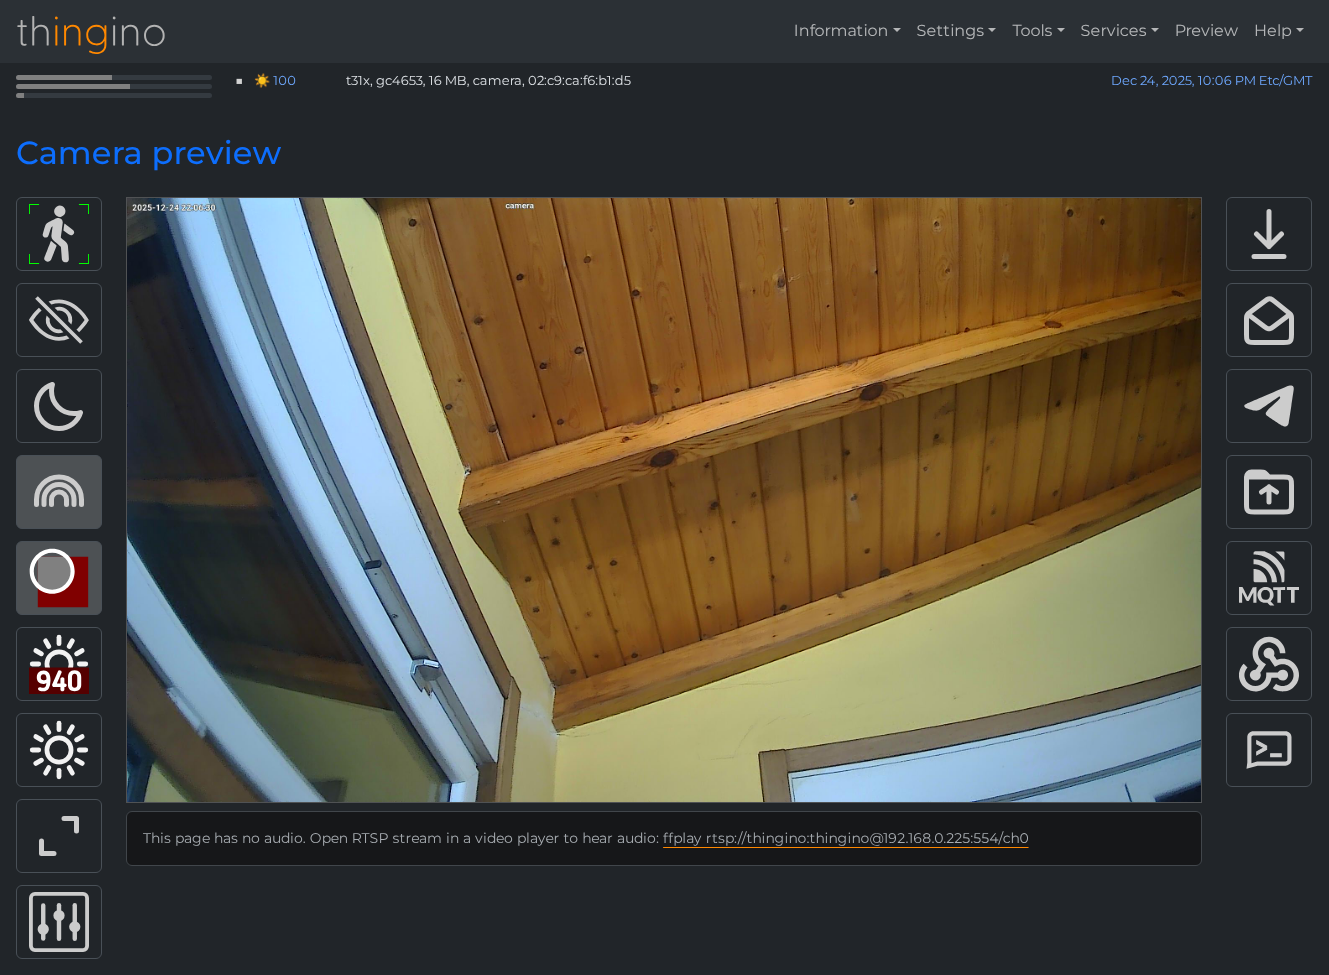
Configuring streams
In the web interface under Settings → Streamer/OSD, you can configure two streams:
- Main: I’m using 2560×1440 30 FPS H.264 15000 kbps
- Substream: For previews or motion detection. I set it to 640×360 10 FPS H.264 1000 kbps
Stream settings are saved in /etc/prudynt.json.
RTSP URLs:
- Main:
rtsp://thingino:thingino@<camera_ip>:554/ch0 - Substream:
rtsp://thingino:thingino@<camera_ip>:554/ch1
These streams can be used from recording apps like Frigate or tested from Linux using ffplay <stream_url>.
Motion detection
Motion detection is enabled from the web interface by clicking the person icon or from Services → Motion Guard. It was not working with the default settings because there were no secondary stream.
Thingino supports simple motion detection with rectangular zones defined in JSON. I think that the original chinese firmware had better detection options. But I will use Frigate for advanced detection options.
On motion detection Thingino has a lot of notification options:
- FTP
- MQTT
- Telegram
- Webhooks
- Ntfy.sh
Telegram is particularly useful as it sends notifications to the phone and can store video clips (for free!).
Some configuration quirks:
- The file
/etc/prudynt.jsonstores motion detection settings under a “motion” object. - The Send to Telegram option sometimes fails to save from the web UI. I needed to manually set
"send2telegram": true. - Motion triggers the script
/sbin/motion, which has a bug: it starts a video recording and calls/sbin/send2telegram, which tries to start another recording and fails. I needed to comment out the redundant recording call in/sbin/motion.
Publishing to Telegram
To enable Telegram notifications:
- Create a bot with @BotFather.
- Create a channel and make the bot an administrator.
- Enter the bot token and channel ID in the Thingino web interface: Tools → Send to Telegram.
By default, /sbin/motion tries to send a photo and video to Telegram. This did not work in this camera, and I needed to change the call to /sbin/send2telegram clip to send only the video.
Another drawback is that the Telegram app does not support playing H.265 videos, the main stream needs to be set to H.264.
Telegram bot
The bot can also respond to commands from authorized users to send live snapshots or video clips. Enable it in the web interface under Services → Telegram bot, and modify the wrong default actions to run binaries in /sbin/ instead of /usr/bin/.
Final thoughts
Installing Thingino on this camera is a rewarding but technical process. You gain better control and privacy, but it requires patience and careful troubleshooting. I will need another post to explain the Frigate setup.