Abusing Apple’s Find My network
Some months ago Apple was running a commercial on Spanish TV about the iPhone’s privacy, mocking users with Android devices.
Probably, iPhone users do not know that it is really easy to physically track them.
Apple’s “Find My” network was launched in 2019 and the AirTag in 2021. The AirTag emits BLE beacons with a public key that, when received by another Apple device, are sent along with the location of the device that received them to Apple servers, encrypted with the AirTag public key. The information on the Apple servers needs to be decrypted with the AirTag’s private key.
However, when the AirTag location is updated, the owner of the AirTag also knows that there is an Apple device nearby.
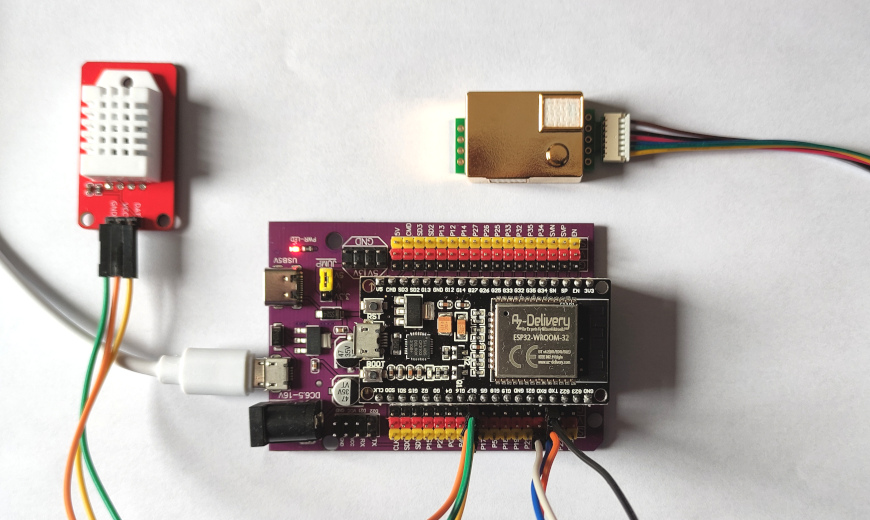
In theory it’s required to have an iPhone/iPad/iPod to activate an AirTag, but it’s very easy to build an AirTag clone with ESP32.
The Macless Haystack project, based on the original OpenHaystack, provides:
- The python utility to generate AirTag key pairs
- The firmware to flash an ESP32-WROOM-32 and convert it to an AirTag clone
- An Android app to check the location of your fake AirTags
- Two Docker containers needed to retrieve the info from the Apple servers, they need to be accesible by the Android app
And, of course, I built my own one:
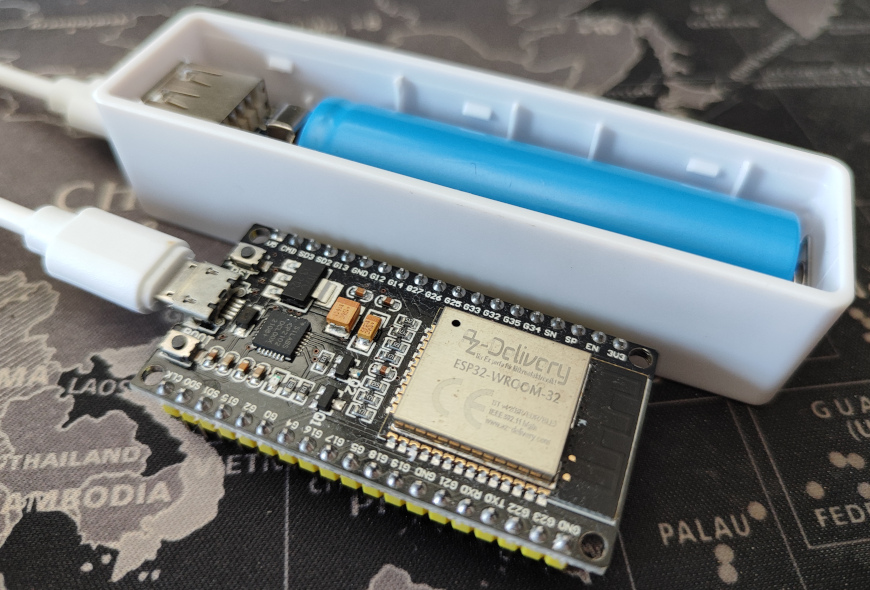
These ESP clones are much bigger than AirTags but they are ok to track cars, suitcases or bags. There is a PR to the Macless Haystack repo alowing to use an ESP32-C3 Supermini, that makes a smaller device with a better battery duration.
Google launched the “Find My Device” network in April 2024, and the tags supporting it (i.e. the Chippolo Point or the Pebblebee) are slowly reaching the market. But the default security option only shares the location information if there are other Android devices nearby. That is much better for the privacy of Android device owners, but much worse for the owners of the tags.
So, if you own an Android device, it is still better to use AirTag clones, abusing the lack of privacy of the Apple devices.